Technology
Adobe InDesign: Color Printing
Last modified 3/26/2024
Paper Tray and Type
You must specify paper type and tray prior to printing. Otherwise, the printer will default to letter-sized, plain paper.
- Choose the color printer (Xerox – Color and Grayscale)
- Select the number of copies you would like (if any)

- Go to “Setup” on the left menu of the dialog, and check your “Paper Size”
- US Letter = 8.5” x 11”
- Tabloid = 11” x 17”
- Tabloid Oversize = 12” x 18”
- Click on “Printer” to specify paper type and tray before printing.

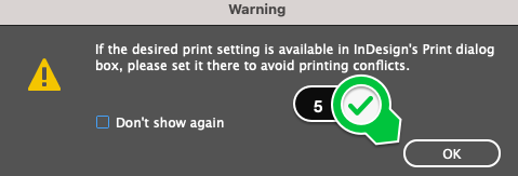
- You will possibly get a prompt like the picture below. If so, click on “OK”
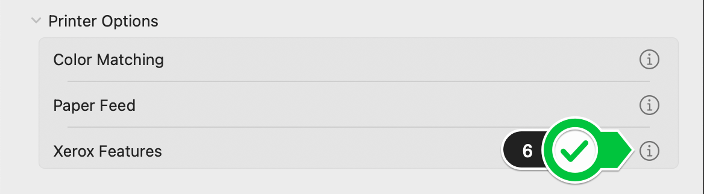
- Open Printer Options and click Xerox Features
- IMPORTANT: this step will determine if your print goes to the correct paper tray
- Choose “white” as your paper color
- Choose “Plain” for paper and “Cardstock” for cardstock. The printer will then pick the correct tray containing the media type you wish to print.
- (Optional) Select double-sided print if desired
- Check your settings for the “Xerox Black and White” option.
- Choosing “Off (Use Document Color)” will result in your project printing in color.
- Choosing “On” will result in your project printing in black and white
- Click OK

- Click on “Print”
- Click on “Print”

To learn more about uPrint and printing on campus, please see Where to pick up and pay for your uPrint print job | Help - Illinois State