Endpoint Management
Enrolling Devices into Jamf Pro
Last modified 7/7/2020
About
This guide will show your options to enroll a device into Jamf Pro.
Before You Begin
Prerequisites
Be sure you meet the following prerequisites:
- For Method 1 - Using a Prestage Enrollment Profile
- You have an account in Apple School Manager
- Automatic Device Enrollment is configured in Jamf Pro
- More Info: Setup DEP on Jamf Pro
Getting Started
macOS Computers
- Method 1 - Using a PreStage Enrollment Profile
- Navigate to the Jamf Pro Console at https://jamf.illinoisstate.edu/ and login.
- Make sure you are working under your IT Team's site

In the left pane, Select Computers > PreStage Enrollments, then select New.

If the New button is grayed out that means you haven't set up Jamf Pro's Automatic Device Enrollment with Apple School Manager. Use this guide - Setup DEP on Jamf Pro
In the General Payload, fill out all the fields as you'd like.
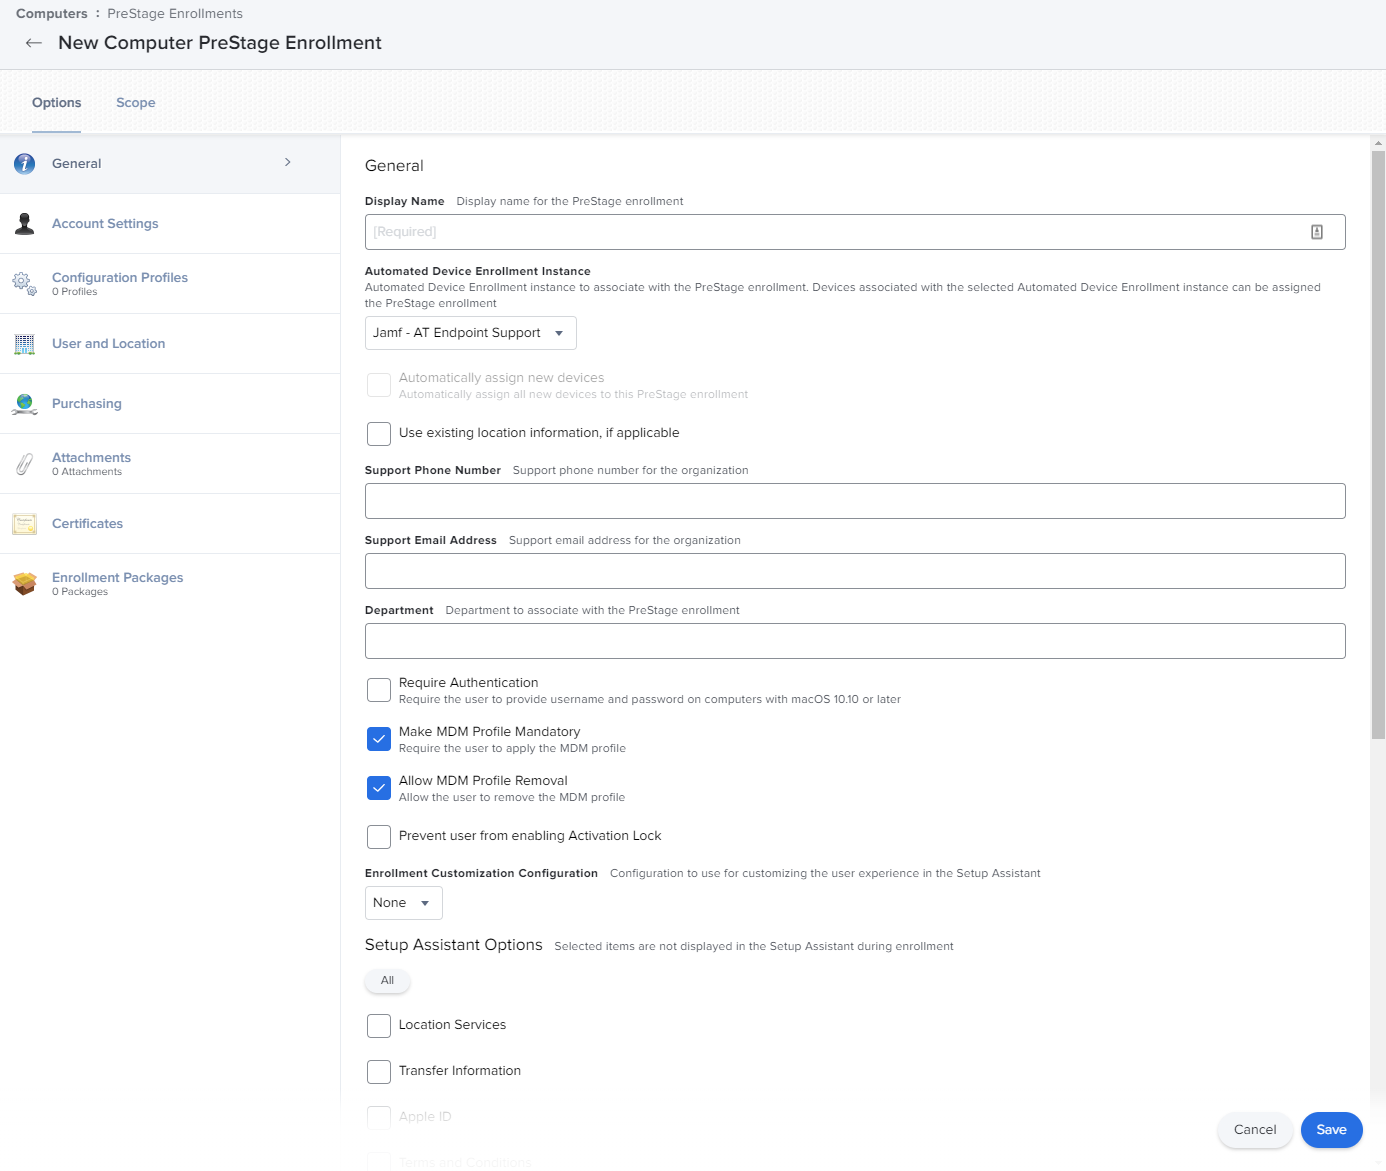
Automatically assign new devices should be used if you want this policy to be the default for your all new devices. If you don't use it, you will have to manually assign your devices to this profile.
- In the Account Settings Payload, you can choose setup additional accounts, and configure how the first account is configured during enrollment.

- You can choose to configure the additional payloads, if you wish to use them.
- Configuration Profiles - can add additional profiles during enrollment.
- User and Location - can add additional information for a the device
- Purchasing - doesn't need to be filled in, as it can be pulled via Jamf Pro's connection to Apple GSX.
- Attachments - Unused
- Certficiates - you can add additional Certificates
- Enrollment Packages - you can add packages to install during enrollment, however, they must be code-signed packages.
- In the Scope Tab, you see all of your available devices that you have in Apple School Manager that you can choose to assign to this profile.
- Select Save to finish.
- Once a device is assigned and that device goes through the out of box first time setup, it will come to a Remote Managment screen that will install your Prestage Enrollment Profile and enroll into Jamf.
- Method 2 - User Initited Enrollment
- Navigate to https://jamf.illinoisstate.edu/enroll.
- Have your user or a Jamf Pro admin log in.

- If you logged in as a Jamf Pro admin, you will be able to assign the device to a user and select their site.

- The setup will have the user download the Jamf CA Certificate and MDM Profile.

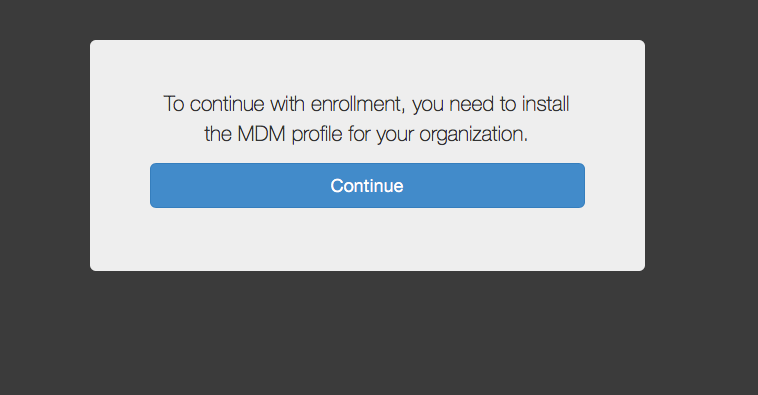
The user must double-click the downloaded CA certificate and wait for the installation process to complete. Then, the user must double-click the downloaded MDM profile and wait for the installation process to complete.
Users must manually return to the enrollment portal webpage after CA certification installation to install the MDM profile and complete the enrollment process.
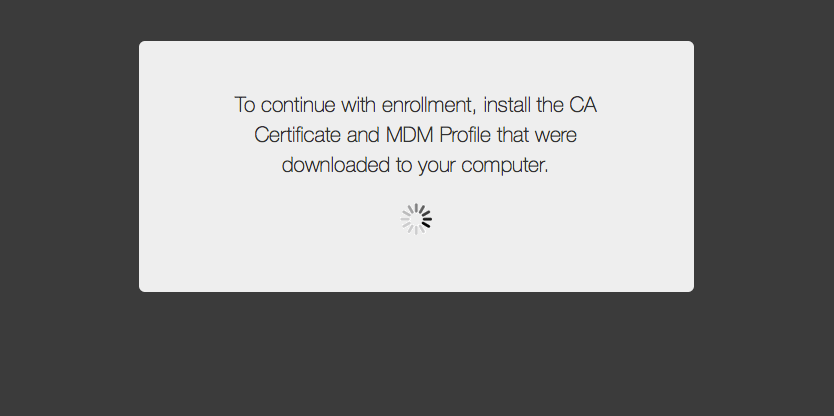
- When the installation is complete, an enrollment complete message is displayed in the enrollment portal. The computer is enrolled with Jamf Pro.