Endpoint Management
Assigning a User to a Computer in Jamf Pro
Last modified 6/10/2022
About
This guide will show you to assign a user to a computer in Jamf Pro.
Before You Begin
Prerequisites
Be sure you meet the following prerequisites:
- Device is enrolled into Jamf Pro
- More Info: Enrolling Devices into Jamf Pro
Getting Started
Log into the Jamf Pro Console
- Navigate to the Jamf Pro Console at https://jamf.illinoisstate.edu/ and login.
- Make sure you are working under your IT Team's site

Adjusting Inventory Display for Search
- Open Inventory Display from the Settings Gear Icon from the Top Right of the Console.

- Select the Computer Name box from the Computer Tab and the Username box from the User and Location Tab. (Optionally, you can add more fields if you want for future use)


- Click Save.
Assign a User to a Device
- Click on Computers from the left pane.
- It should automatically bring you to Search Inventory. From there, run an empty search.

- From the results, we can select a computer that doesnt have a username listed.
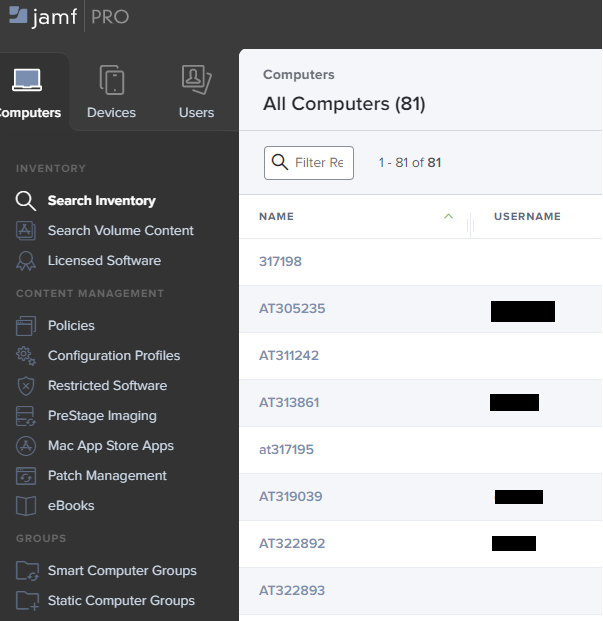
- If you already know who the assigned user should be, skip to step 7.
- In the computer's inventory tab, select Local User Accounts in the Inventory tab.
- From here you will see a listing of accounts that are on device.

- Once you know who the assigned user should be, select the User and Location selection of the Inventory tab, and then select Edit.

- Add a Active Directory username and select Search.

- It will display results from Active Directory to choose from.
- Once completed, make sure to Save in the top right.
