Technology
Mail Merge
Last modified 2/20/2024
Mail merge is used to create a batch of documents that are personalized for each recipient.
The article information below tells you how to complete a mail merge once you have your document ready and use your mail merge documents with a shared mailbox.
Note:
The following instructions require the desktop applications of Microsoft Word and Outlook.
- How to Complete a Mail Merge
- Open a new document in Microsoft Word
- Select the Mailings tab from the top ribbon
- Choose the Select Recipients button. This will allow you to choose the list of people you want to send your document to. You can type a new list, use an existing one, or select Outlook Contacts. (Figure 1)
Figure 1: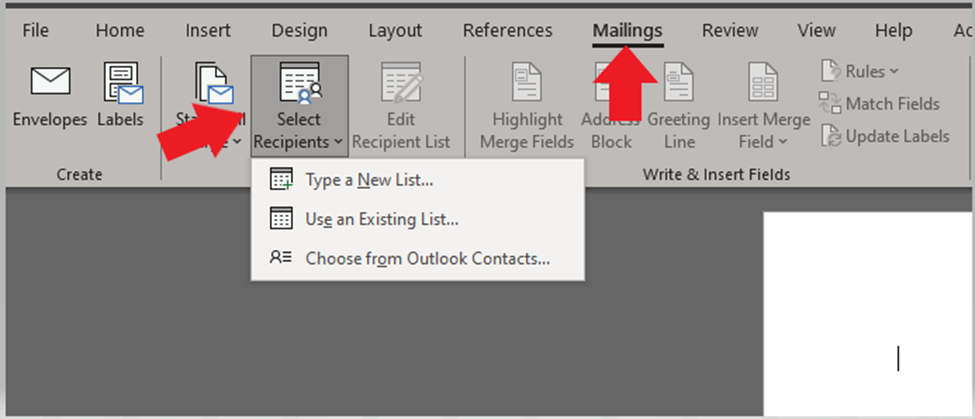
- Select a List Option
- Create a New List
- Select Type a New List... from the Select Recipients dropdown. (Figure 2)
- Add as much information as desired for the recipients
- Email addresses in the last column must be filled out for each recipient.
- Once all desired fields are completed, select OK
- Name your file, and select the desired location to save your file from the pop-up.
- Newly created lists are saved as Microsoft Office Address List (*.mdb)
Figure 2:
- Use or View an Existing List
- Select Use an Existing List... from the Select Recipients dropdown (Figure 2)
- Select the list you would like to use or view from the pop-up
- You can use a variety of file formats including .mdb, .cvs, and Excel files.
- Once the file is selected, the pop-up will disappear
- Select the Edit Recipient List button in the top toolbar (Figure 3)
- A pop-up will display the contents of the list.
Figure 3: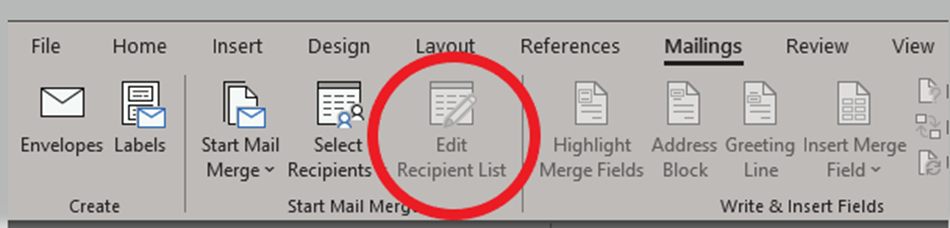
- Create a New List
- Compose the contents of the message within the Word document
- If desired, use the Insert Merge Field option from the top ribbon. (This tool allows messages to be tailored to individual recipients based on t he fields selected.)
- Select Start Mail Merge from the top ribbon
- Select E-mail Messages from the drop down (Figure 4)
Figure 4: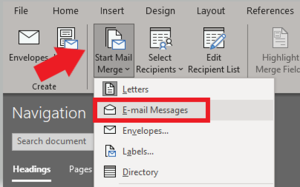
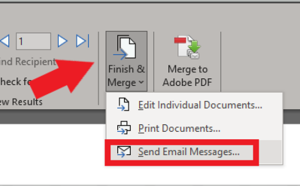
- Select Finish & Merge from the top ribbon
- Select Send Email Messages... from the drop down (Figure 5)
Figure 5:
- From the pop-up (Figure 6)
- Select the appropriate To field
- Fill out the Subject Line
- Keep the mail format as HTML
- Select OK
- Word will send the recipient list information to Outlook. Messages will be sent from the default sender.
Figure 6:
Note:
If you intend to send messages as a Shared Mailbox, make sure that Outlook as been configured wit the Shared Mailbox ass the default sender.
- Adding a Shared Mailbox for Use with Mail Merge
Many Shared Mailbox users benefit from the use of Microsoft’s mail merge feature. To use the mail merge feature, the Shared Mailbox must be set as the default email. Follow the steps below to add a shared mailbox to your Outlook Application.
- Open the Outlook desktop application
- Select File
- Select Info from the left hand menu
- Select the Account Settings button
- Select Account Settings (Figure 1)
Figure 1: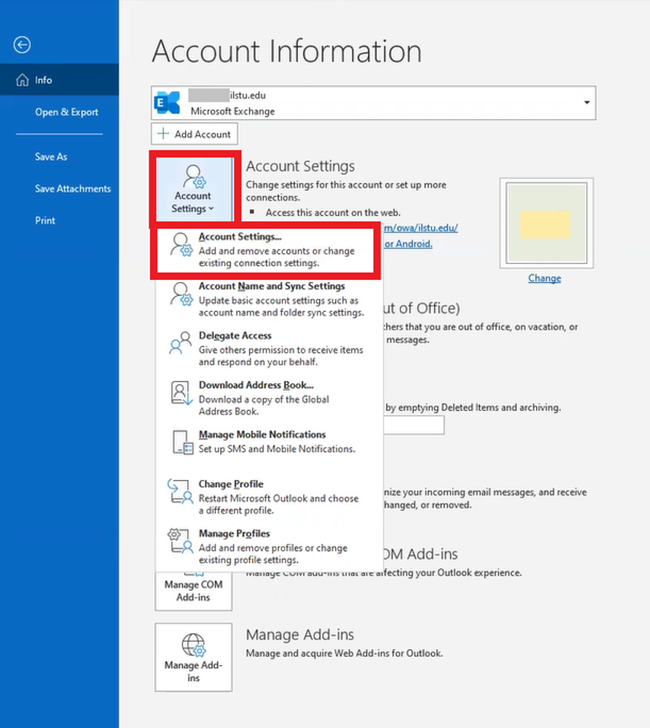
- Select New (Figure 2)
Figure 2: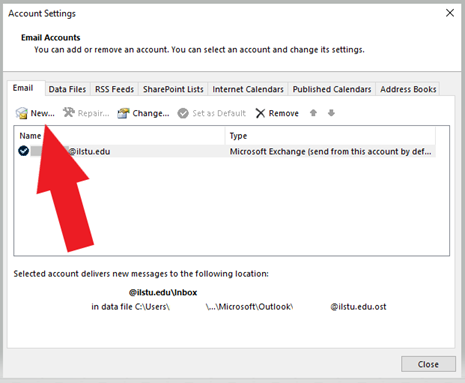
- When prompted, type in the email address for the shared mailboxes (Figure 3)
Figure 3:
- If prompted Login through Central Login and verify with MFA
- A pop-up will appear confirming the account was added successfully and explaining that Outlook needs to be restarted. (Figure 4)
Figure 4: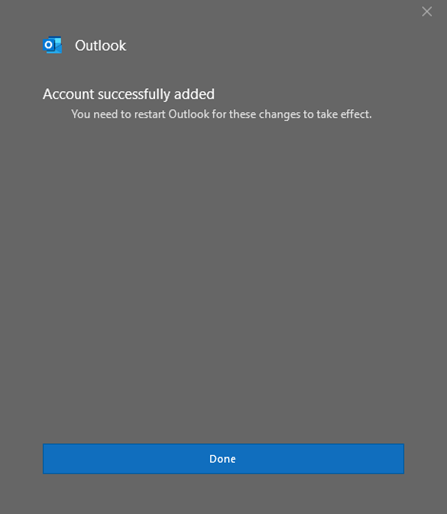
- Select Done
- Restart the Outlook application
- The newly added mailbox should appear in the left hand menu along with its default folder structure. (Figure 5)
Figure 5: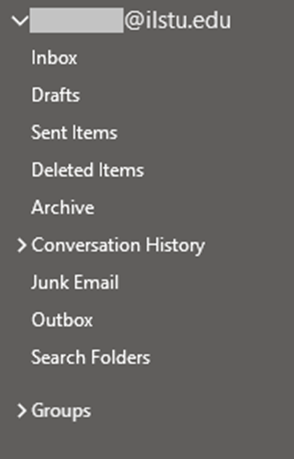
- Configuring Outlook to use Mail Merge with a Shared Mailbox
Shared Mailbox users can benefit from the use of Microsoft's Mail Merge feature. To send as the Shared Mailbox when using the mail merge feature, the Shared Mailbox must be set as the default email. Before following the steps below, make sure you've followed the steps in the accordion "Adding a Shared Mailbox for Use with Mail Merge"
Note:
This change will need to be reversed after the mail merge is completed, if the user wants their individual account to be the default for normal email account use
- Open the Outlook desktop application
- Select File
- Select Options (Figure 1)
Figure 1:
- Select Mail
- Scroll down to the Send Messages section.
- Check the box in front of "Always use the default account when composing new messages."
- Click OK (Figure 2)
Figure 2:
- Select the Account Settings button
- Select Account Settings (Figure 3)
Figure 3:
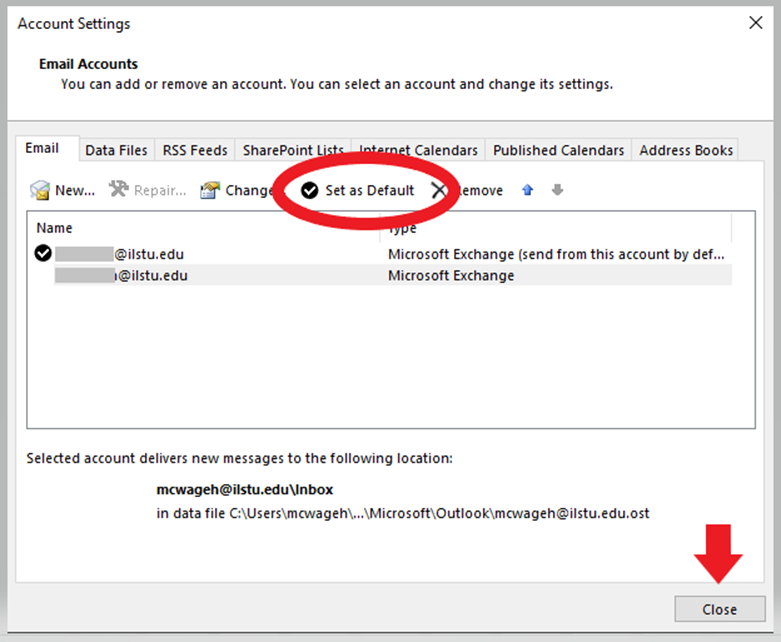
- Select the Shared Mailbox
- Select Set as Default, then select Done (Figure 4)
Figure 4: