Accessibility
Creating Fillable Forms In Microsoft Word
Last modified 4/20/2022
Before you Begin
Create your Word Form document using document accessibility best practices. Before you create a form in Microsoft Word ask if the form is intended to be filled-out in Microsoft Word or in another format, such as PDF. If the form is going to be exported to a PDF, do not add the form fields in Microsoft Word. For PDF forms, you will add interactive form fields in Adobe Acrobat Pro.
The form controls are located on the Developer tab in the Ribbon at the top of the screen.

Textbox Form Controls
Step 1. Write Form Control Label
In your document, type your form control label. Select the space bar to add a space after your label.
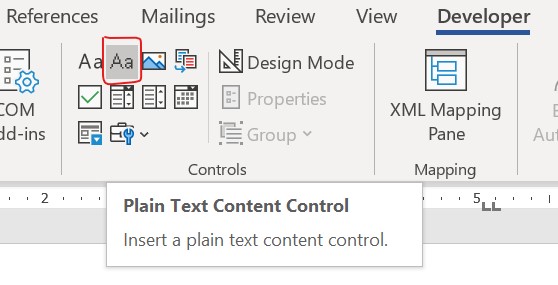
Step 2. Choose the Plain Text Content Control
In the Controls section of the Ribbon, choose the Plain Text Content Control option.
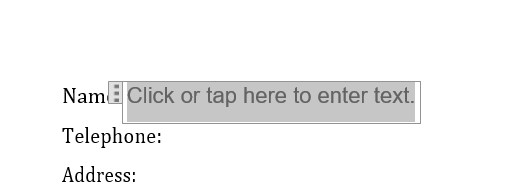
 A text box will appear in the place your cursor is located.
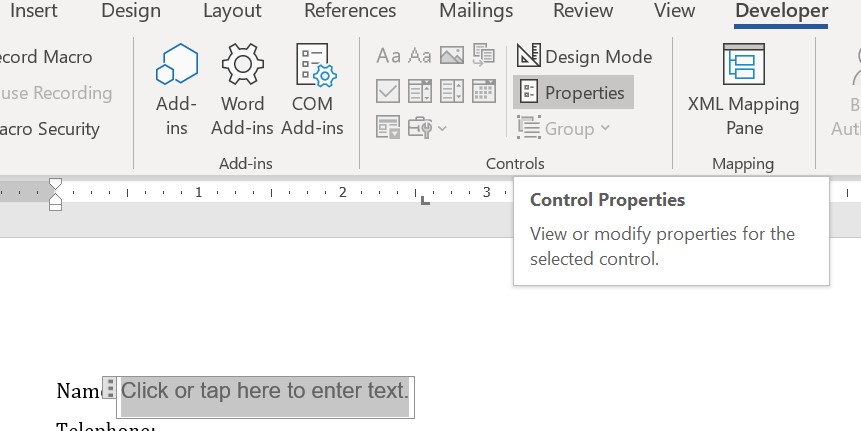
Step 3. Choose Properties
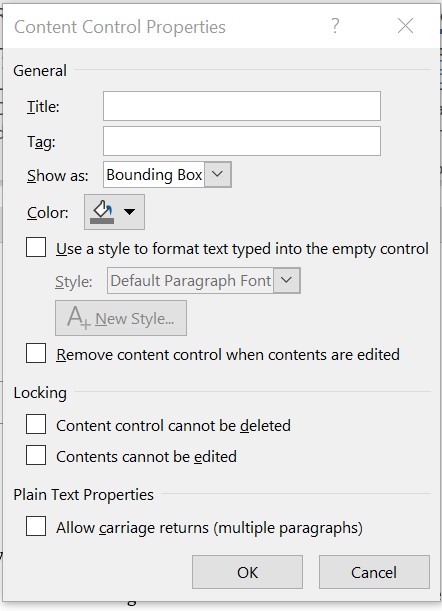
Highlight the text box then return to the Developer tab in the Ribbon and select the Properties option. The Content Control Properties dialog will open.
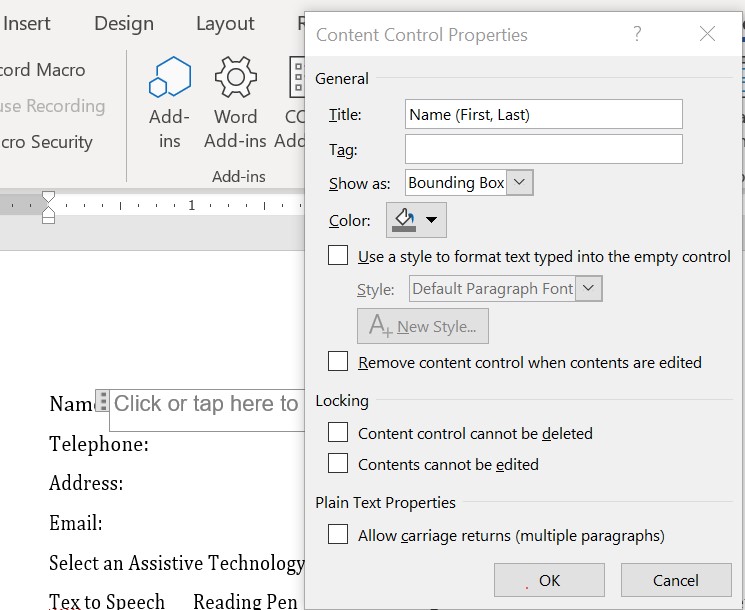
Step 4. Add Title
Type the form field label and any extra information needed to help fill-out the form field into the Title text box. This text will be announced people using screen readers when they navigate into the form control. Then select OK.
Check box Form Controls
Step 1. Write Form Control Label
In your document, for each check box item type your form control label. Place your cursor in the location you want the check box to appear adjacent to the form control label.
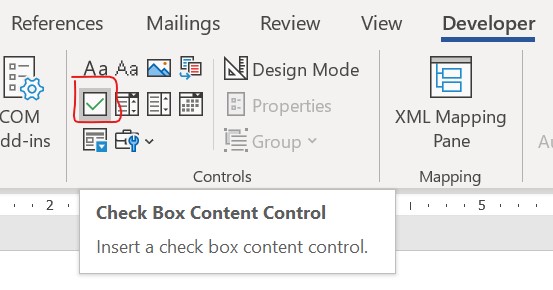
Step 2. Choose the Check Box Content Control
In the Controls section of the Ribbon, choose the Check Box Content Control option. A check box will appear in the place your cursor is located.
Step 3. Choose Properties
Highlight the check box then return to the Developer tab in the Ribbon and select the Properties option. The Content Control Properties dialog will open.
Step 4. Add Title
Type the form control label and any extra information needed. In the first check box in a series of checkboxes to help fill-out the form field into the Title text box. This text will be announced people using screen readers when they navigate into the form control. Then select OK.
- Click on the Developer tab in the Ribbon.
- Write the question or title for the form field. This can be set in a table or some other styling element.
- In the Controls section of the Ribbon choose Check Box Content Control. This will place a check box on your page.
- Highlight the check box and click Properties in the Ribbon.
- Write a Title for the check box. This will be read out by a screen reader so explain to the user what the check box relates to.
- Select OK.
Drop-down Selection box Form Field
- Click on the Developer tab in the Ribbon.
- Write the question or title for the form field. This can be set in a table or some other styling element.
- In the Controls section of the Ribbon choose Drop Down List Content Control. This will place a drop down list on your page.
- Highlight the drop-down-list and click Properties in the Ribbon.
- Write a Title for the drop down list. This will be read out by a screen reader so explain to the user what the drop-down options relate to.
- To add items to the drop-down list click Add. A pop-up window will appear allowing you to enter a Display Name and/or value for each item.
- Select OK when you have added all items to the list.
Date pickers
- Click on the Developer tab in the Ribbon.
- Write the question or title for the form field. This can be set in a table or some other styling element.
- In the Controls section of the Ribbon choose Date Picker Content Control. This will place a date picker on your page.
- Highlight the date picker and click Properties in the Ribbon.
- Write a Title for the date picker. This will be read out by a screen reader so explain to the user what the chosen date relates to.
- There are a series of other options in which you can pick the date style, calendar and location.
- Select OK.